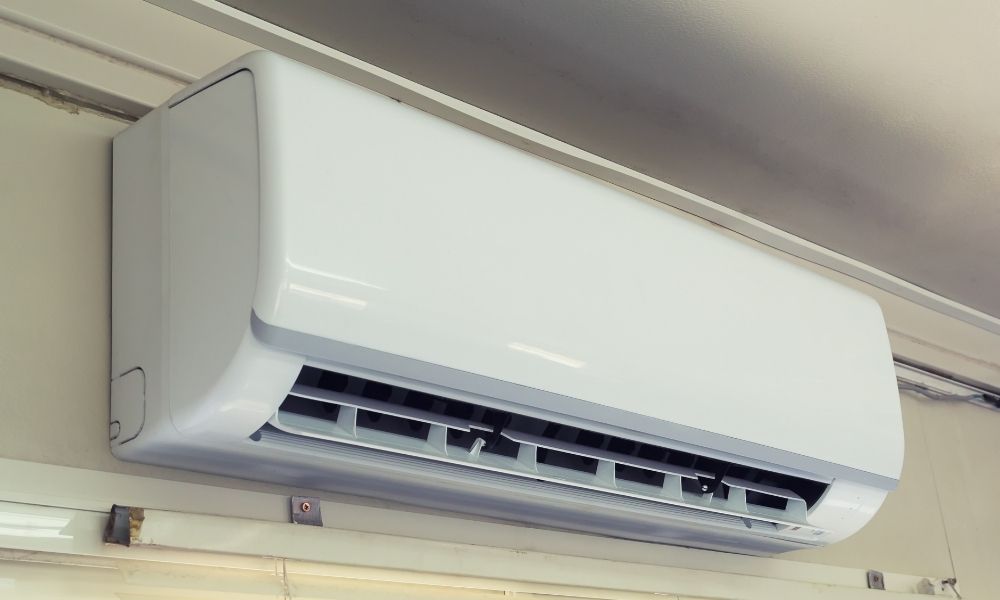
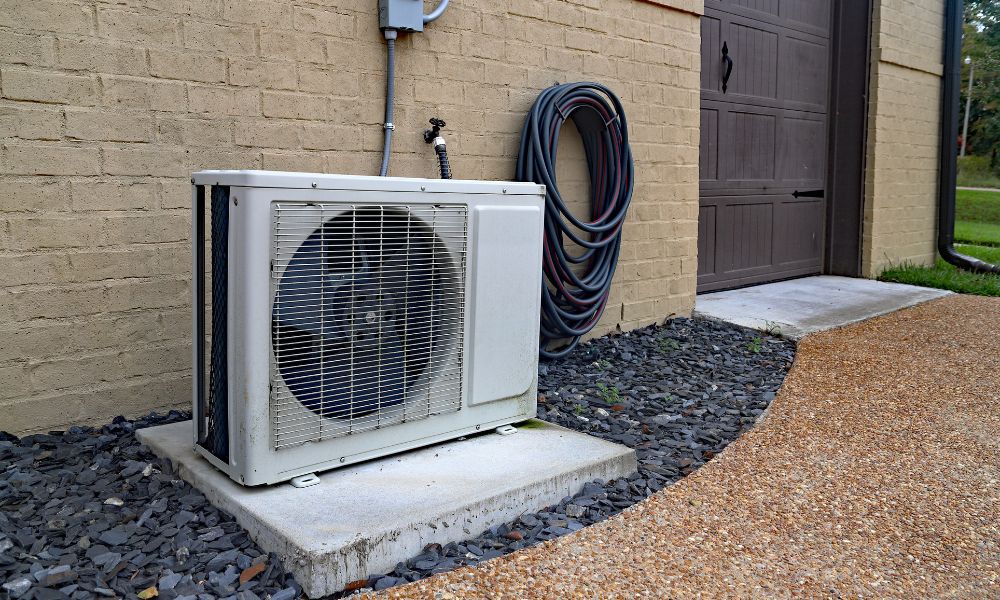
Pioneer mini split problems often stem from issues like refrigerant leaks, faulty wiring, or clogged filters. Regular maintenance and timely repairs can resolve most common issues.
Pioneer mini splits are popular for their efficiency and flexibility in heating and cooling. They offer comfort without the need for ductwork, making them ideal for various spaces. However, like any HVAC system, they can encounter problems. Common issues include inconsistent temperatures, unusual noises, and error codes.
Understanding these challenges can help homeowners troubleshoot effectively. Regular maintenance is crucial for prolonging the life of the system and ensuring optimal performance. Knowing how to identify and address potential problems can save you time and money while keeping your home comfortable year-round.
Common Issues With Pioneer Mini Splits
Pioneer mini splits are popular for their efficiency and comfort. However, like any system, they can face issues. Understanding these common problems helps in quick troubleshooting.
Strange Noises
Strange noises can be alarming. They often indicate a problem. Here are some common sounds and their meanings:
| Sound | Possible Cause |
|---|---|
| Banging | Loose parts or debris inside the unit. |
| Hissing | Refrigerant leak or expansion valve issue. |
| Whistling | Airflow restriction or duct issues. |
| Clicking | Normal operation or a loose component. |
Listening to these sounds helps identify problems. Prompt action can prevent further damage.
Inconsistent Cooling Or Heating
Inconsistent temperatures are frustrating. This problem can stem from several issues:
- Dirty Filters: Clogged filters restrict airflow.
- Refrigerant Levels: Low refrigerant affects performance.
- Thermostat Issues: A faulty thermostat misreads temperatures.
- Blocked Vents: Obstructed vents can disrupt airflow.
Regular maintenance can help avoid these issues. Clean or replace filters every month. Check refrigerant levels annually.
Addressing inconsistent cooling or heating ensures comfort. It improves the efficiency of your Pioneer mini split.

Credit: www.pioneerminisplit.com
Troubleshooting Power Problems
Power issues can disrupt your Pioneer mini split system. Identifying the problem is key. Let’s explore common power problems and how to fix them.
Checking The Power Supply
First, ensure the power supply is functioning properly. Here’s what to check:
- Make sure the unit is plugged in.
- Inspect the power cord for any damage.
- Confirm the outlet is working. You can test it with another device.
Use a multimeter to check voltage. Follow these steps:
- Turn off the power to the unit.
- Set the multimeter to AC voltage.
- Place the probes in the outlet.
- Read the voltage. It should be between 208V and 240V.
Low voltage can cause performance issues. Rectify any issues found.
Resetting The Circuit Breaker
Sometimes, resetting the circuit breaker can solve power problems. Follow these steps:
- Locate your home’s circuit breaker panel.
- Find the breaker for the mini split unit.
- Switch it off and wait for 30 seconds.
- Turn the breaker back on.
Check the unit again after resetting. This may restore power.
If problems persist, inspect for further issues.
Solving Remote Control Malfunctions
Remote control issues can disrupt your comfort. A malfunctioning remote can be frustrating. Fortunately, many problems are easy to fix. Here are common solutions for Pioneer Mini Split remote control problems.
Replacing Batteries
The most common issue is dead batteries. Here’s how to replace them:
- Open the battery compartment on the back of the remote.
- Remove the old batteries. Check the orientation.
- Insert new batteries. Make sure they match the polarity.
- Close the battery compartment.
Use high-quality batteries. This ensures better performance. If the remote still doesn’t work, try pairing it again.
Pairing Remote Again
Sometimes, the remote needs to be paired with the unit. Follow these steps:
- Turn on the mini split unit.
- Press and hold the “Set” button on the remote.
- While holding “Set,” press the “Power” button.
- Release both buttons. The remote should now pair.
If pairing fails, repeat the process. This often resolves connection issues. Your remote should work properly again.

Credit: www.pioneerminisplit.com
Addressing Error Codes
Error codes can be frustrating. They indicate issues with your Pioneer Mini Split system. Understanding these codes helps you troubleshoot effectively.
Interpreting The Codes
Error codes appear on your unit’s display. Each code signals a specific issue. Here’s a quick reference table for common error codes:
| Error Code | Description |
|---|---|
| E1 | Indoor unit malfunction |
| E2 | Outdoor unit failure |
| E3 | Temperature sensor error |
| E4 | Communication error |
Each code helps pinpoint the issue. Check your manual for detailed explanations. Knowing the error code is the first step to fixing it.
Resetting The System
Sometimes, resetting the system solves minor issues. Follow these steps to reset your Pioneer Mini Split:
- Turn off the unit using the remote.
- Unplug the power cord from the outlet.
- Wait for at least 5 minutes.
- Plug the power cord back in.
- Turn on the unit with the remote.
After resetting, check if the error code disappears. If the code persists, further troubleshooting may be necessary.
For persistent issues, consider contacting a professional. They can provide expert help and ensure your system runs smoothly.
Improving Poor Airflow
Poor airflow in your Pioneer mini-split can cause discomfort. It affects heating and cooling efficiency. Addressing airflow issues is crucial for optimal performance. Here are key steps to improve airflow.
Cleaning Air Filters
Dirty air filters can restrict airflow. Regularly cleaning or replacing them is essential. Follow these steps:
- Turn off the mini-split unit.
- Locate the air filter.
- Carefully remove the filter.
- Clean it with warm, soapy water.
- Rinse and let it dry completely.
- Reinstall the filter.
Clean filters enhance airflow and improve air quality.
Checking For Blockages
Blockages can limit airflow in your mini-split system. Inspect these areas:
- Indoor unit vents
- Outdoor unit coils
- Drain lines
Ensure nothing obstructs these parts. A clean environment promotes better airflow. Look for:
| Area | Potential Blockages |
|---|---|
| Indoor Unit Vents | Furniture, curtains, dust |
| Outdoor Unit Coils | Leaves, dirt, debris |
| Drain Lines | Clogs, ice buildup |
Regular checks prevent airflow problems. Fixing blockages boosts efficiency.

Credit: www.pioneerminisplit.com
Fixing Water Leakage Issues
Water leakage in a Pioneer mini split can cause serious problems. It can damage walls, floors, and other furniture. Identifying and fixing the source quickly is vital. Here are two common issues and their solutions.
Unclogging The Drain Line
A clogged drain line is a frequent cause of water leakage. This blockage prevents proper drainage of condensate water. Follow these steps to unclog it:
- Turn off the power to the unit.
- Locate the drain line outside the home.
- Use a wet/dry vacuum to remove debris.
- Pour a mixture of vinegar and water into the drain line.
- Let it sit for 30 minutes, then flush with water.
Regular maintenance can help avoid future clogs. Check the drain line every few months. Clean it if you notice any buildup.
Inspecting For Refrigerant Leaks
Refrigerant leaks can also lead to water pooling. Low refrigerant levels cause the evaporator coil to freeze. This frozen coil melts and creates excess water. Here’s how to inspect for leaks:
- Check for ice buildup on the coils.
- Listen for hissing sounds near the unit.
- Look for oily residue around the connections.
If you find any signs of a refrigerant leak, contact a professional. Repairing leaks requires special tools and expertise. Never attempt to refill refrigerant yourself.
| Signs of Water Leakage | Possible Causes |
|---|---|
| Water pooling around the unit | Clogged drain line |
| Ice on the coils | Refrigerant leak |
| Water stains on walls | Improper installation |
Stay proactive with your Pioneer mini split. Regular checks can save you time and money.
Maintaining Optimal Performance
Keeping your Pioneer mini split in top shape is essential. Regular maintenance prevents issues and extends its lifespan. Follow these guidelines for optimal performance.
Regular Cleaning Schedule
Establish a regular cleaning routine. Dust and dirt can block airflow. This leads to inefficiency and higher energy bills.
- Clean the air filters every month.
- Wipe down the indoor unit with a damp cloth.
- Check the outdoor unit for debris, like leaves and dirt.
Dirty filters reduce airflow. This can cause your system to work harder. Clean filters improve efficiency and comfort.
Use the following table as a guideline:
| Task | Frequency |
|---|---|
| Clean air filters | Monthly |
| Wipe indoor unit | Monthly |
| Inspect outdoor unit | Every 3 months |
Annual Professional Check-up
Schedule an annual check-up with a professional technician. They can identify hidden problems. This helps avoid costly repairs later.
- Technicians check refrigerant levels.
- They inspect electrical connections.
- They clean coils for better performance.
Professional maintenance ensures your system runs smoothly. It keeps your home comfortable year-round.
Regular upkeep leads to better air quality. It also lowers energy costs. Protect your investment with these easy steps.
When To Call A Professional
Some Pioneer Mini Split problems need expert help. Recognizing when to call a professional can save time and money. Below are key signs that indicate it’s time to seek help.
Complex Technical Issues
Mini split systems can have intricate problems. Here are common issues that require professional assistance:
- Refrigerant Leaks: Low refrigerant can lead to inefficient cooling.
- Electrical Failures: Issues with wiring can cause system shutdowns.
- Compressor Problems: A faulty compressor affects overall performance.
- Control Board Issues: Malfunctions in the control board can disrupt settings.
These problems often require special tools and knowledge. Attempting DIY fixes can worsen the situation.
Warranty And Repairs
Many Pioneer Mini Split systems come with warranties. Understanding your warranty can guide your decision:
| Warranty Type | Coverage | Recommended Action |
|---|---|---|
| Parts Warranty | Covers defective parts for a specific period | Call a professional for repairs |
| Labor Warranty | Covers labor costs for installation or repairs | Seek professional help |
Always check warranty details before attempting repairs. Calling a professional ensures the warranty remains valid.
Frequently Asked Questions
What Are Common Pioneer Mini Split Issues?
Common issues include poor cooling, unusual noises, and refrigerant leaks, often due to installation errors or lack of maintenance.
How To Troubleshoot Pioneer Mini Split Problems?
Start by checking filters, ensuring power supply, and examining remote control settings for simple fixes.
Why Is My Pioneer Mini Split Not Cooling?
Poor cooling may stem from dirty filters, blocked vents, or low refrigerant levels, requiring immediate attention.
How To Reset A Pioneer Mini Split?
Locate the reset button on the unit or turn off the power for a few minutes before restarting.
Is Professional Service Needed For Repairs?
Professional service is advisable for complex issues, ensuring safe and effective repairs to your Mini Split system. “`
Conclusion
Pioneer mini split systems can face various issues. Recognizing these problems early can save time and money. Regular maintenance and prompt repairs are crucial for optimal performance. Always consult a professional for complex issues. By staying informed, you can ensure your mini split operates efficiently and effectively for years to come.
